In this series, I've bing posting tiny articles to familiarise you with Alpine.js, an extremely simple yet very effective framework to build web applications.
Today, I'll show you how to handle events along with diving a bit deeper into the syntax while still keeping the tutorial so simple and short that you can read it while taking a break or perhaps in between other things you're doing.
We start by creating an index.html file and importing Alpine in the head of our html:
<html>
  <head>
    <script defer src="https://unpkg.com/alpinejs@3.x.x/dist/cdn.min.js"></script>
  </head>
...
Our counter has two buttons + and - to increase and decrease the value of our counter. So, we need to store the value of our counter, plus a mechanism to increase and decrease the value of the counter by clicking the buttons.
Let's first use x-data directive to store our counter's value and reference it in our x-text directive:
<div x-data="{ count: 0 }">
  <button>-</button>
  <span x-text="count"></span>
  <button>+</button>
</div>
I have explained more about x-data and x-text in my previous post you can find here.
Now, the last step is to add the functionality to our buttons. To add an on click event handler we use x-on directive with the event name which is click:
<div x-data="{ count: 0 }">
  <button x-on:click="count = count > 0 ? count-1 : count">-</button>
  <span x-text="count"></span>
  <button x-on:click="count++">+</button>
</div>
x-on allows you to easily run code on dispatched DOM events.
💡 Make sure you use lower case name for the event.
You can see here to show you a bit more about the syntax of Alpine, in our event handler for - button we check if the value of count is greater than 0 we decrease it by one otherwise we don't change the value.
This is how our code looks like at the end.
<html>
  <head>
    <script
      defer
      src="https://unpkg.com/alpinejs@3.x.x/dist/cdn.min.js"
    ></script>
  </head>
  <body>
    <div x-data="{ count: 0 }">
      <button x-on:click="count = count > 0 ? count-1 : count">-</button>
      <span x-text="count"></span>
      <button x-on:click="count++">+</button>
    </div>
  </body>
</html>
Now that we have our code ready, let's deploy it on utopiops
Head over to the Fully managed applications section as we want to use free static website deployment and hosting that Utopiops offers.

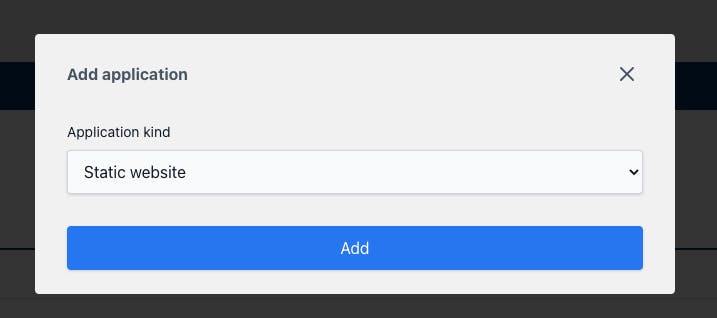
Now we choose Static website as the application type to be created. (Utopiops also offers free plans for Function and Dockerized applications)

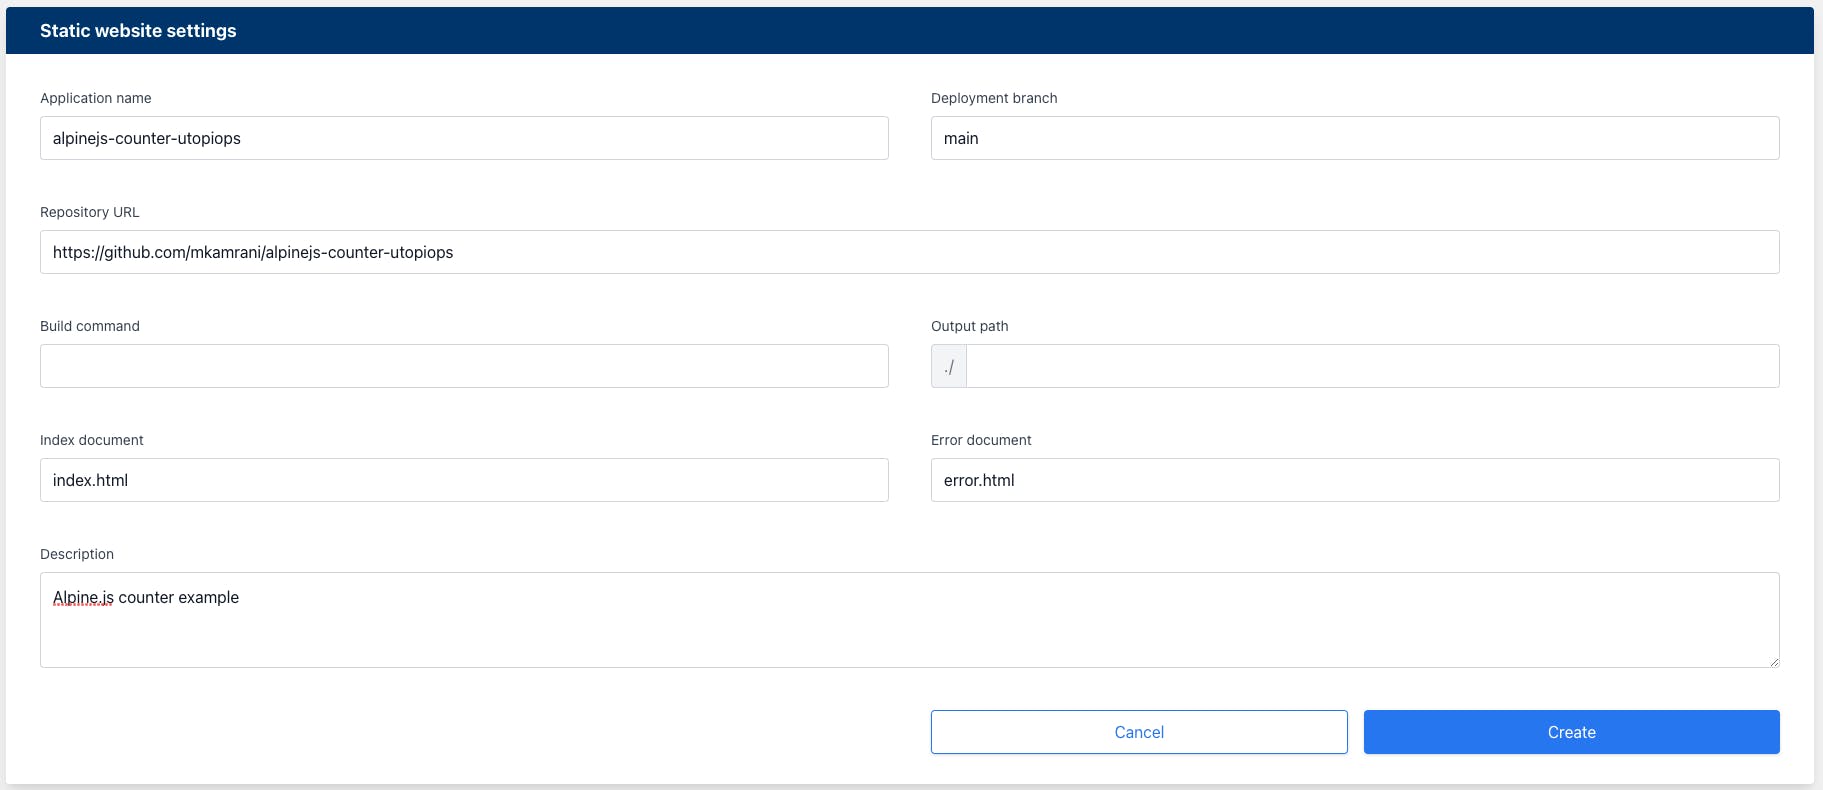
Now the only thing we need to know is to specify the repository that we store our code (Utopiops supports Github, Bitbucket and Gitlab).
Remember we don't need to provide any build command!

And that's it, in a few seconds we have our website ready and every time we make a change to our code it automatically deploys our changes.
alpinejs-counter-utopiops-732b9a80.sites.ut..
Note: Utopiops is in public beta at the time of writing this post and the view you see when you log in to Utopiops at utopiops.com might be different, but the good news is that it sure just have become more user-friendly and easier to use.


