Today I'll show you how to dynamically set the content of your tags, or InnerHtml to be specific in Alpine. If you've noticed I'm trying to stay loyal to the goals of Alpine, so we jump straight to the code.
A bonus in today's tutorial is that we use an external file to store some of our javascript.
Let's create two files named index.html and index.js.
We start by importing alpine in our html file:
<html>

<head>
  <script src="//unpkg.com/alpinejs" defer></script>
</head>
...
In our example scenario we want to show two different messages based on a random variable; I know it doesn't make sense but it does serve the purpose!
Let's add a div to our html file where we want to render the dynamic content:
<html>
  <head>
    <script src="//unpkg.com/alpinejs" defer></script>
  </head>
  <body>
    <div x-data="{ message: getMessage()}" x-html="message" />
  </body>
</html>
Now let's write a simple function to generate the dynamic message in our index.js:
function getMessage() {
  const a = Math.random();
  let message = "";
  if (a > .5) {
    message = "<h1>Good morning </h1>";
  } else {
    message = "<h1>Good evening</h1>";
  }
  return message;
}
Please notice that what we have put in our messages just looks like html but it's a simple string from javascript's point of view. Btw, leave a comment down bellow if this part reminds you of something else. (Hint: it starts with R)
Now that we have our function, let's see how we can use it in our html with the Alpine.js directives and how we can set the content.
<div x-data="{ message: getMessage()}" x-html="message"></div>
Yup, this is all we need.
As usual, we use x-data to set the data. Refer to my previous posts in this series if you don't know what x-data does. Just notice how seamlessly we have called our function in our directive and have assigned it's value to a property in our data object.
The new directive we're using is x-html which basically sets the innerHTML of a tag.
A word of caution before showing the complete code of our html page, including importing our javascript file from Alpine team:
⚠️ Only use on trusted content and never on user-provided content. ⚠️ Dynamically rendering HTML from third parties can easily lead to XSS vulnerabilities.
And our html file's final look:
<html>
  <head>
    <script src="//unpkg.com/alpinejs" defer></script>
    <script src="./index.js"></script>
  </head>
  <body>
    <div x-data="{ message: getMessage()}" x-html="message"></div>
  </body>
</html>
You can find the source code here.
Now that we have our code ready, let's deploy it on utopiops.
Head over to the Fully managed applications section as we want to use free static website deployment and hosting that Utopiops offers.

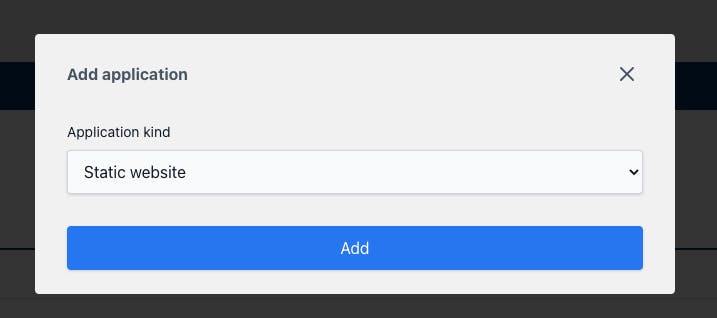
Now we choose Static website as the application type to be created. (Utopiops also offers free plans for Function and Dockerized applications)

Now the only thing we need to know is to specify the repository that we store our code (Utopiops supports Github, Bitbucket and Gitlab).
Remember we don't need to provide any build command!

And that's it, in a few seconds we have our website ready and every time we make a change to our code it automatically deploys our changes.
alpinejs-dynamic-content-e25cb512.sites.uto..
Note: Utopiops is in public beta at the time of writing this post and the view you see when you log in to Utopiops at utopiops.com might be different, but the good news is that it sure just have become more user-friendly and easier to use.


